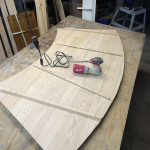
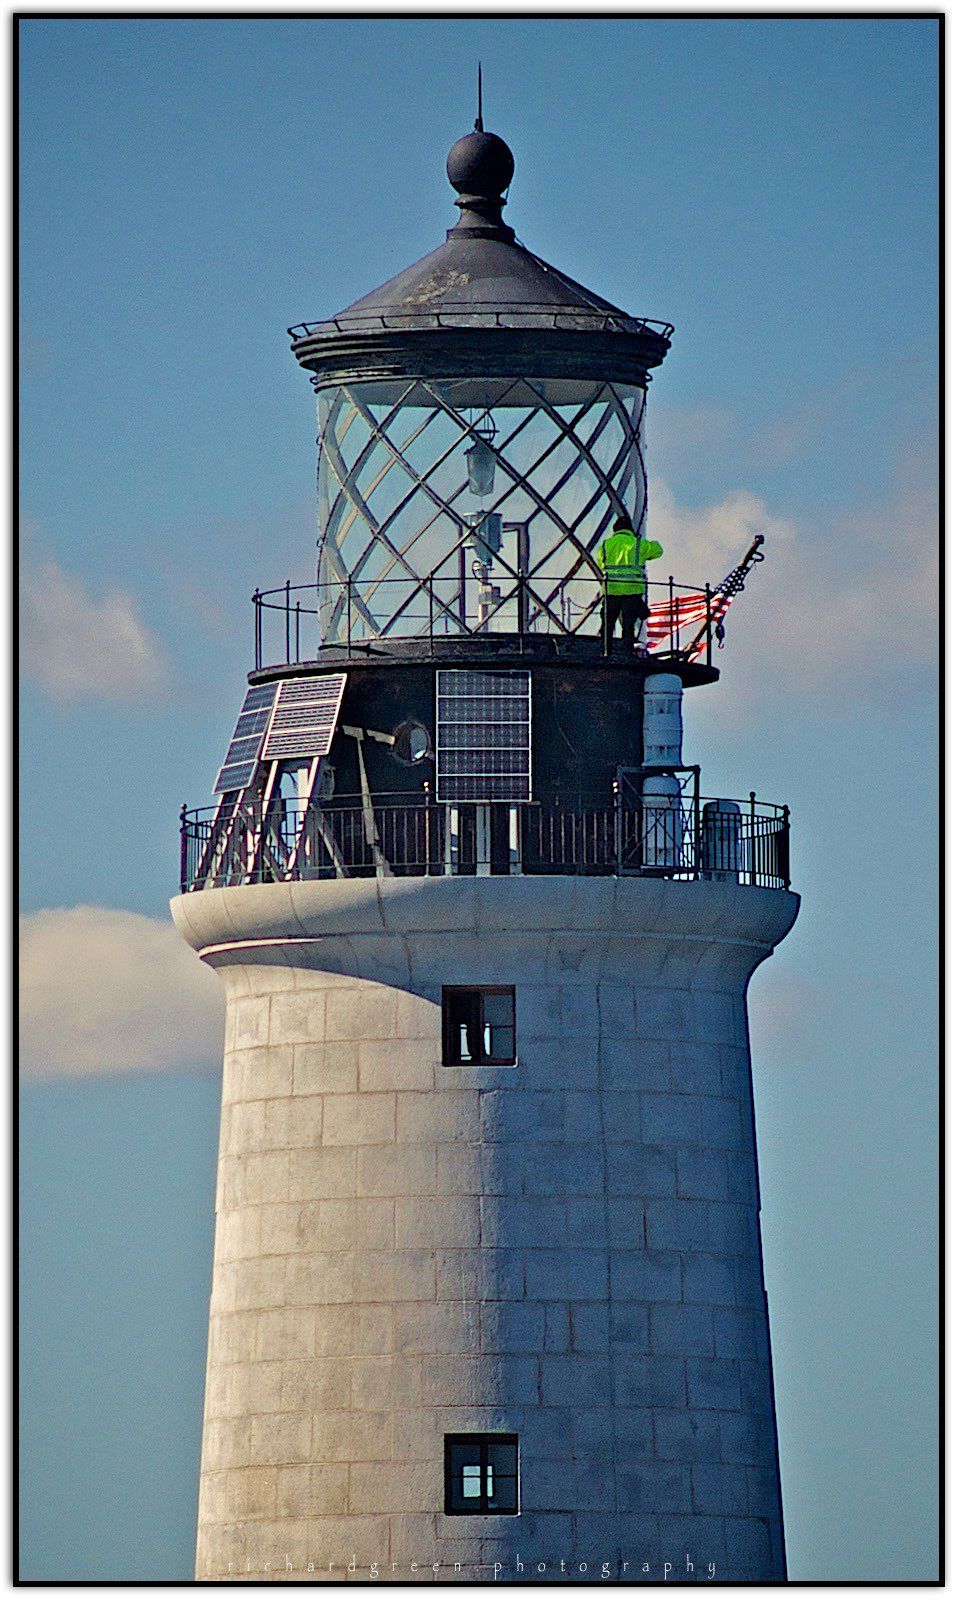
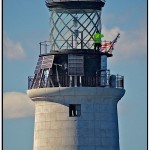
Pedro is up on the lamp deck, a hundred feet above the rocks, glazing the windows. Also see the oak-and-brass casement windows, faithful reproductions of the originals, installed in the granite tower. Photo by Richard Green, who was passing by on the ‘Freedom.’
We wrapped up a busy first season of bringing Graves Light back to life, concluding with work that wasn’t as dramatic as much of what we’ve seen, but was every bit as important.
The crew from Partner Solutions General Contracting came in to do a major cleanup.
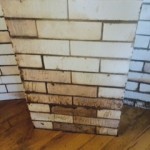
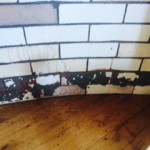
Their targets: the rust, tar, dirt and mystery goo from the glazed white interior bricks.
This was the first time the bricks had been cleaned in about 40 years.
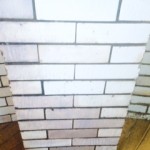
We were thrilled with the job that Ricardo, Claudio and Leo did to make the inside of Graves Light shine once more.
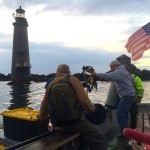
On Columbus Day weekend, we went out one last time for the season, before the seas got too rough for our boats to approach the dangerous stone ledges.
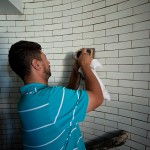
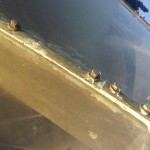
Among other things, Pedro went all the way up to the top of the outside of the lighthouse, to the lamp deck, to glaze the huge curved window panes joined together by colossal brass frames.
Pedro stopped the water from leaking into the top of the lighthouse.
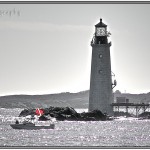
By happy coincidence, a friend and fan of Graves Light, photographer Richard Green, happened to be passing by on the flybridge of the Freedom, and took some dramatic pictures with his telephoto lens. Nobody realized it at the time, but Richard snapped some photos of Pedro working up on the lamp deck.
Richard shared the pictures with us on the Graves Light Facebook page.
-
-
The last work trip out of the 2014 season. Pedro, in the bright green jacket, is headed up to the lamp deck to glaze the windows.
-
-
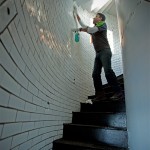
Leo polishes the 4th floor.
-
-
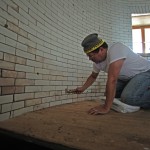
Ricardo takes 40 years’ worth of grime off level 2.
-
-
Claudio does finishing work on the 3rd level bricks.
-
-
A hundred feet above the rocks, Pedro glazes the lamp room glass.
-
-
Pedro glazed the glass panes of the lamp room in October 2014.
-
-
Before.
-
-
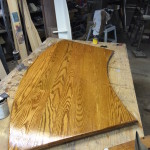
After.
-
-
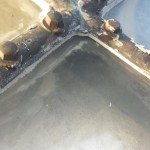
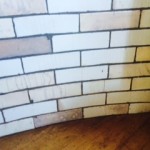
Brickwork before cleaning.
-
-
Brickwork after cleaning.
-
-
Richard Green passes by on the flybridge of the ‘Freedom,’ coincidentally capturing Pedro glazing the windows of the lamp room.
-
-
Pedro is up on the lamp deck, a hundred feet above the rocks, glazing the windows. Also see the new oak-and-brass casement windows, faithful reproductions of the originals, set in the stone tower. Photo by Richard Green, who was passing by on the ‘Freedom.’